Bitcoin Mining Greenhouse Heating in 2026: Practical Heat-Reuse Layouts for Small Growers
Most heat-reuse diagrams you find online look clean. A box for the miner, a line for the duct, an arrow into the greenhouse, and a happy plant emoji. Reality is messier. The duct run has bends. The greenhouse has cold spots. The miner produces more heat than you need at 2 PM and not enough at 3 AM. And somewhere between the tidy schematic and the finished installation, you discover that the fan you spec'd doesn't push enough air through 15 metres of flexible duct with two 90-degree elbows.
This guide covers the practical layout decisions for connecting Bitcoin mining hardware to a small greenhouse heating system in 2026. Not the theory. The physical routing, thermal zoning, and the compromises that separate working setups from abandoned projects.
Why Layout Matters More Than Hardware Choice
It is tempting to start with the miner. Which ASIC, which generation, which efficiency rating. But the layout of your heat delivery system determines whether useful thermal energy reaches your plants or pools uselessly near the ceiling. A well-laid-out system with a modest miner will outperform an expensive miner dumping heat into a poorly designed duct run every time.
The core question is not "how much heat does the miner produce?" It is "how much of that heat arrives where the plants need it, at the temperature they can use, without creating humidity problems or airflow dead zones?"
For small growers running one to four ASICs, the layout typically involves three zones: the mining enclosure, the transfer path, and the greenhouse distribution area. Each zone has its own constraints, and the interfaces between them are where most setups fail.
Zone 1: The Mining Enclosure
The mining enclosure is where your hardware lives. For small-scale operations, this is usually a separate shed, a partitioned section of a workshop, or a purpose-built insulated box adjacent to the greenhouse.
Key layout decisions:
- Separation from the growing space. Miners are loud and produce dry, hot air. Placing them directly inside the greenhouse creates noise problems, humidity conflicts, and makes maintenance difficult. A separated enclosure connected by ducting is the standard approach that works.
- Intake and exhaust orientation. ASICs pull cool air from one side and exhaust hot air from the other. Orient the miner so the hot exhaust faces your duct takeoff point. This sounds obvious, but I have seen setups where the miner was oriented for convenient power cable routing rather than airflow efficiency.
- Enclosure sizing. The enclosure needs enough volume to avoid recirculating hot air back into the intake. A minimum of 0.5 metres clearance on the intake side is practical. Tight enclosures cause the miner to throttle or overheat, which reduces both hash rate and useful heat output.
- Electrical considerations. Mining hardware draws significant current. Your enclosure needs appropriately rated circuits, and the cable run from your distribution board should be planned alongside the duct run. Retrofitting electrical after the ducts are installed is frustrating and expensive.
For a single S19-class miner drawing roughly 3,200 watts, the enclosure does not need to be large. A well-insulated 1.2m x 0.8m x 0.8m box with proper intake and exhaust ports is sufficient. For multiple units, scale the volume proportionally and add intake ventilation capacity.
Zone 2: The Transfer Path
This is where most amateur setups underperform. The transfer path moves hot air from the mining enclosure to the greenhouse, and every metre of duct, every bend, and every diameter reduction costs you thermal delivery efficiency.
Duct material. Rigid metal ducting outperforms flexible plastic in every measurable way: less airflow resistance, better thermal retention, easier cleaning, longer life. Flexible ducting is cheaper and easier to install, which is why most small setups use it. If you go flexible, use the largest diameter you can manage and keep the run as short and straight as possible.
Duct diameter. For a single ASIC, 200mm diameter is the minimum. 250mm is better. Undersized ducts increase static pressure, forcing the exhaust fan to work harder and reducing total airflow. If your fan sounds like it is straining, the duct is probably too small or has too many restrictions.
Run length. Every metre of duct loses heat to the surroundings and adds airflow resistance. Practical maximum for a single-fan setup without booster fans is about 8 to 10 metres of straight run. Add equivalent length for bends: a 90-degree elbow in 200mm flex duct adds roughly 3 to 4 metres of equivalent resistance.
Insulation. Insulating the duct run preserves heat during transfer. Uninsulated duct running through cold outside air can lose 15 to 25 percent of its thermal energy before reaching the greenhouse, depending on ambient temperature and run length. Foil-backed mineral wool wrap or pre-insulated duct sections are the practical options.
Condensation management. When hot, relatively dry air from the miner travels through duct in a cold environment, condensation can form inside the duct. This drips, pools, and eventually causes problems. A slight downward slope toward a drain point, combined with duct insulation, manages this. Do not ignore it during layout planning.
Zone 3: Greenhouse Distribution
Getting the heat into the greenhouse is only half the problem. Distributing it evenly across the growing area is the other half, and it is the half that most directly affects plant health.
Distribution options for small setups:
- Single outlet with deflector. The simplest approach. The duct terminates in the greenhouse with a directional deflector that spreads the airflow. Works for greenhouses under 15 square metres with a single heat source. Creates noticeable temperature gradients in larger spaces.
- Perforated duct run. A length of duct with evenly spaced holes runs along one wall or under the benches. This distributes heat more evenly but requires careful hole sizing. Too few holes and the heat concentrates at the far end (where pressure is highest). Too many and the first section gets all the airflow.
- Manifold with multiple outlets. A central plenum splits into two or more smaller ducts, each serving a different zone. More complex to build but gives better control. Particularly useful if you have bench-level heating needs and overhead supplemental heating.
- Under-bench distribution. Running the warm air under growing benches delivers heat where root zones benefit most. This is particularly effective for propagation areas and bulb forcing trays. The bench surface acts as a radiant distributor, warming pots and trays from below.
Temperature at the outlet. By the time miner exhaust air has travelled through several metres of duct, it has cooled from the original 50 to 65 degrees Celsius to something more like 30 to 45 degrees, depending on insulation and ambient conditions. This is actually useful. Direct ASIC exhaust is too hot for most plants. The duct run acts as a natural temperature moderator.
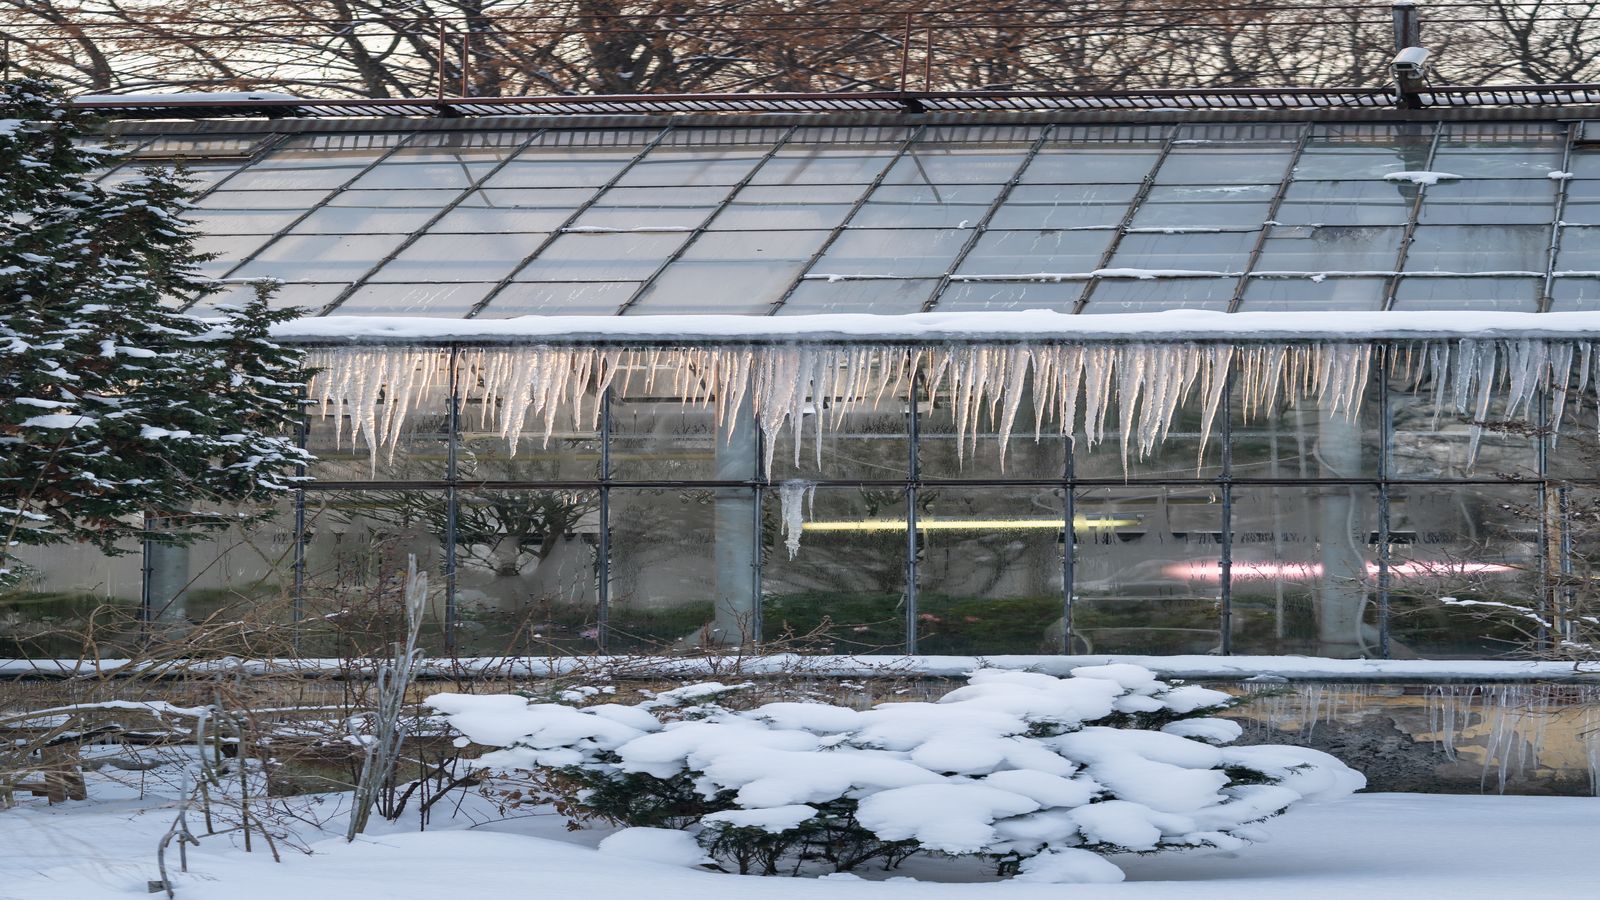
Avoid ceiling pooling. Hot air rises. If your outlet points upward or discharges near the ceiling, the heat stratifies at the top of the greenhouse where it does nothing for the plants below. Point outlets downward, or use horizontal perforated runs at bench height or below.
Practical Layout Examples
Layout A: Single Miner, Adjacent Shed, Small Greenhouse (10-20 sqm)
This is the simplest working layout and the one most small growers should start with.
- Mining enclosure: insulated shed or box within 3 metres of the greenhouse wall
- Duct: 250mm insulated flex, straight through-wall penetration, maximum 4 metres total
- Distribution: under-bench perforated duct run, 3 metres long with 40mm holes every 300mm
- Fan: the ASIC's own exhaust fans push air through the duct at this short distance
- Backup: small electric greenhouse heater on a thermostat for overnight supplementation
This layout reliably delivers 60 to 75 percent of the miner's thermal output to the growing space. The short duct run minimises losses and avoids the need for booster fans.
Layout B: Two to Three Miners, Partitioned Workshop, Medium Greenhouse (20-40 sqm)
- Mining zone: partitioned section of an existing workshop, with dedicated intake vent and exhaust manifold
- Duct: 300mm rigid metal main trunk, splitting to two 200mm insulated flex branches
- Distribution: two under-bench runs, one per greenhouse section, with balancing dampers
- Fan: inline booster fan rated for 500+ cubic metres per hour in the main trunk
- Backup: propane or oil-fired greenhouse heater on a separate thermostat
The balancing dampers are important here. Without them, the branch closest to the fan gets most of the airflow. Simple butterfly dampers in each branch let you tune the split.
Layout C: Summer Bypass Configuration
Any layout needs a plan for when the greenhouse does not need heat. In spring and summer, mining heat becomes a liability rather than an asset. Your layout should include a bypass that diverts exhaust air to the outdoors without routing through the greenhouse.
A simple Y-junction with a motorised or manual damper at the split point handles this. One branch goes to the greenhouse, the other to an exterior exhaust vent. When greenhouse temperature exceeds your setpoint, the damper switches to bypass.
For automated setups, a thermostat-controlled damper actuator connected to a greenhouse temperature sensor works well. Budget around 40 to 80 euros for a basic motorised damper with thermostat.
Common Layout Mistakes
Running duct through unheated spaces without insulation. The most frequent error. A 6-metre duct run through a cold barn loses enough heat to make the whole exercise marginal.
Using too many bends. Each 90-degree bend is a significant airflow restriction. If your layout requires more than two 90-degree bends, redesign the route or add a booster fan.
Forgetting about access for duct cleaning. Duct runs accumulate dust and, in greenhouse environments, biological growth. Plan access panels or use duct with removable sections. A duct you cannot clean will eventually restrict airflow significantly.
Ignoring the return air path. If you push hot air into a sealed greenhouse, pressure builds and airflow drops. The greenhouse needs a return path, either back to the mining enclosure intake (creating a recirculation loop) or to the outside. A return-to-miner loop is efficient but risks introducing humidity into the mining environment. An exhaust vent is simpler and safer.
Oversizing the system. Four miners producing 12 kW of heat in a 15-square-metre greenhouse will cook everything inside. Match your heat source to your heat demand. One or two miners is enough for most small growing spaces in temperate climates.
When This Approach Makes Sense
Heat-reuse layouts work best when:
- You are already mining or firmly committed to mining for other reasons
- Your greenhouse has a genuine heating need for at least five months of the year
- The mining enclosure can be placed within 8 metres of the greenhouse
- You have the electrical capacity for mining hardware
- You are prepared to maintain the system, including duct cleaning, fan replacement, and damper servicing
They make less sense when:
- Mining is speculative and might stop if profitability drops
- The greenhouse only needs heat for two or three months
- The physical distance between potential mining location and greenhouse exceeds 10 metres
- Your electrical supply is already at capacity
What to Do Next
If you are planning a layout, start with the physical survey. Measure the distance from your proposed mining location to the greenhouse. Identify the wall penetration points. Check your electrical capacity. Then sketch the duct route, marking every bend and change in diameter.
For thermal calculations to size your system, work through the basics in our existing Bitcoin Mining Heat Reuse guide.
For the broader context on greenhouse climate control that your mining heat feeds into, start with Greenhouse Heat Management.